
NetSuite
This page describes how to use Census with NetSuite.
Getting Started
In this guide, we will show you how to connect NetSuite to Census and create your first sync.
Prerequisites
Have your Census account ready. If you need one, create a Free Trial Census account now.
Have your NetSuite account ready, with the Administrator role.
This process involves several steps - please set aside 15-30 minutes to complete it. NetSuite configuration can be complex, so if you have any questions please contact us via [email protected] and we'll help you tailor these instructions to your needs.
Have the proper credentials to access to your data source. See our docs for each supported data source for further information:
1. Create an Integration Record for Census
Visit the integrations page or use the global search to look for and navigate to: page: Manage Integrations

Create a new integration with the follow properties:
Give it a name that you'll recognize, such as Census
Check TOKEN-BASED AUTHENTICATION
Leave OAuth 2.0 AUTHORIZATION CODE GRANT unchecked
Leave TBA: AUTHORIZATION FLOW unchecked
Set State to Enabled
Click Save when finished.
Copy and paste the CONSUMER KEY / CLIENT ID and CONSUMER SECRET / CLIENT SECRET to a password manager. You'll need those later to paste into Census.

2. Enable Token Based Authentication
Global search to page: Enable Features
Navigate to the tab SuiteCloud > Manage Authentication
Make sure Token Based Authentication is checked
Save

3. Create a Token Role
The Administrator user you're using with NetSuite and Census also needs "Token Role".
Global search to page: New Role
Name the role: Census
Check WEB SERVICES ONLY ROLE
Check DO NOT RESTRICT EMPLOYEE FIELDS
For multi-subsidiary NetSuite users**,** check ALL under ACCESSIBLE SUBSIDIARIES
Under Permissions > Setup, add the following permissions:
Access Token Management: Full
Custom Body Fields: Full
Custom Column Fields: Full
Custom Entity Fields: Full
Custom Fields: Full
Custom Item Fields: Full
SOAP Web Services: Full
REST Web Services: Full
User Access Token: Full


7. Under Permissions > Lists, Give your Role the appropriate permissions for the NetSuite objects you'll be updating. For example, to update Customers, you'll want to give this role the Lists > Customers (Full) permission.

4. Add Token Management Permissions
Global search to page: Employees
Edit the employee record of the Admin user you will be using Census with.
Navigate to Access > Roles and add the Token Role you just created above.

5. Create Access Tokens
Global search to page: Access Tokens
Click New Access Token
Select the application and role we created above, then press Save
Copy and paste the new Token ID and Token Secret to your password manager or file. We'll use it below.

Note: Netsuite permission changes to a role or user do not occur immediately. These changes typically take anywhere from a few minutes to a few hours, and they can even take up to 24 hours to go into effect. If you are confident that you have given Census the correct permissions above and experience an error setting up the connection, we recommend waiting for these changes to go into effect before testing the connection again.
6. One more thing: NetSuite Account ID
The last bit of information you’ll need is your NetSuite Account ID:
Global search to page: Company Information.
Your ACCOUNT ID will be found on that page. Copy and paste it as well.
7. Finally, Configure Your Census Connection
Now in Census, add a new Destination.

Paste the Account ID of your NetSuite Account, as well as the Consumer Key, Consumer Secret, Token ID and Token Secret created above.
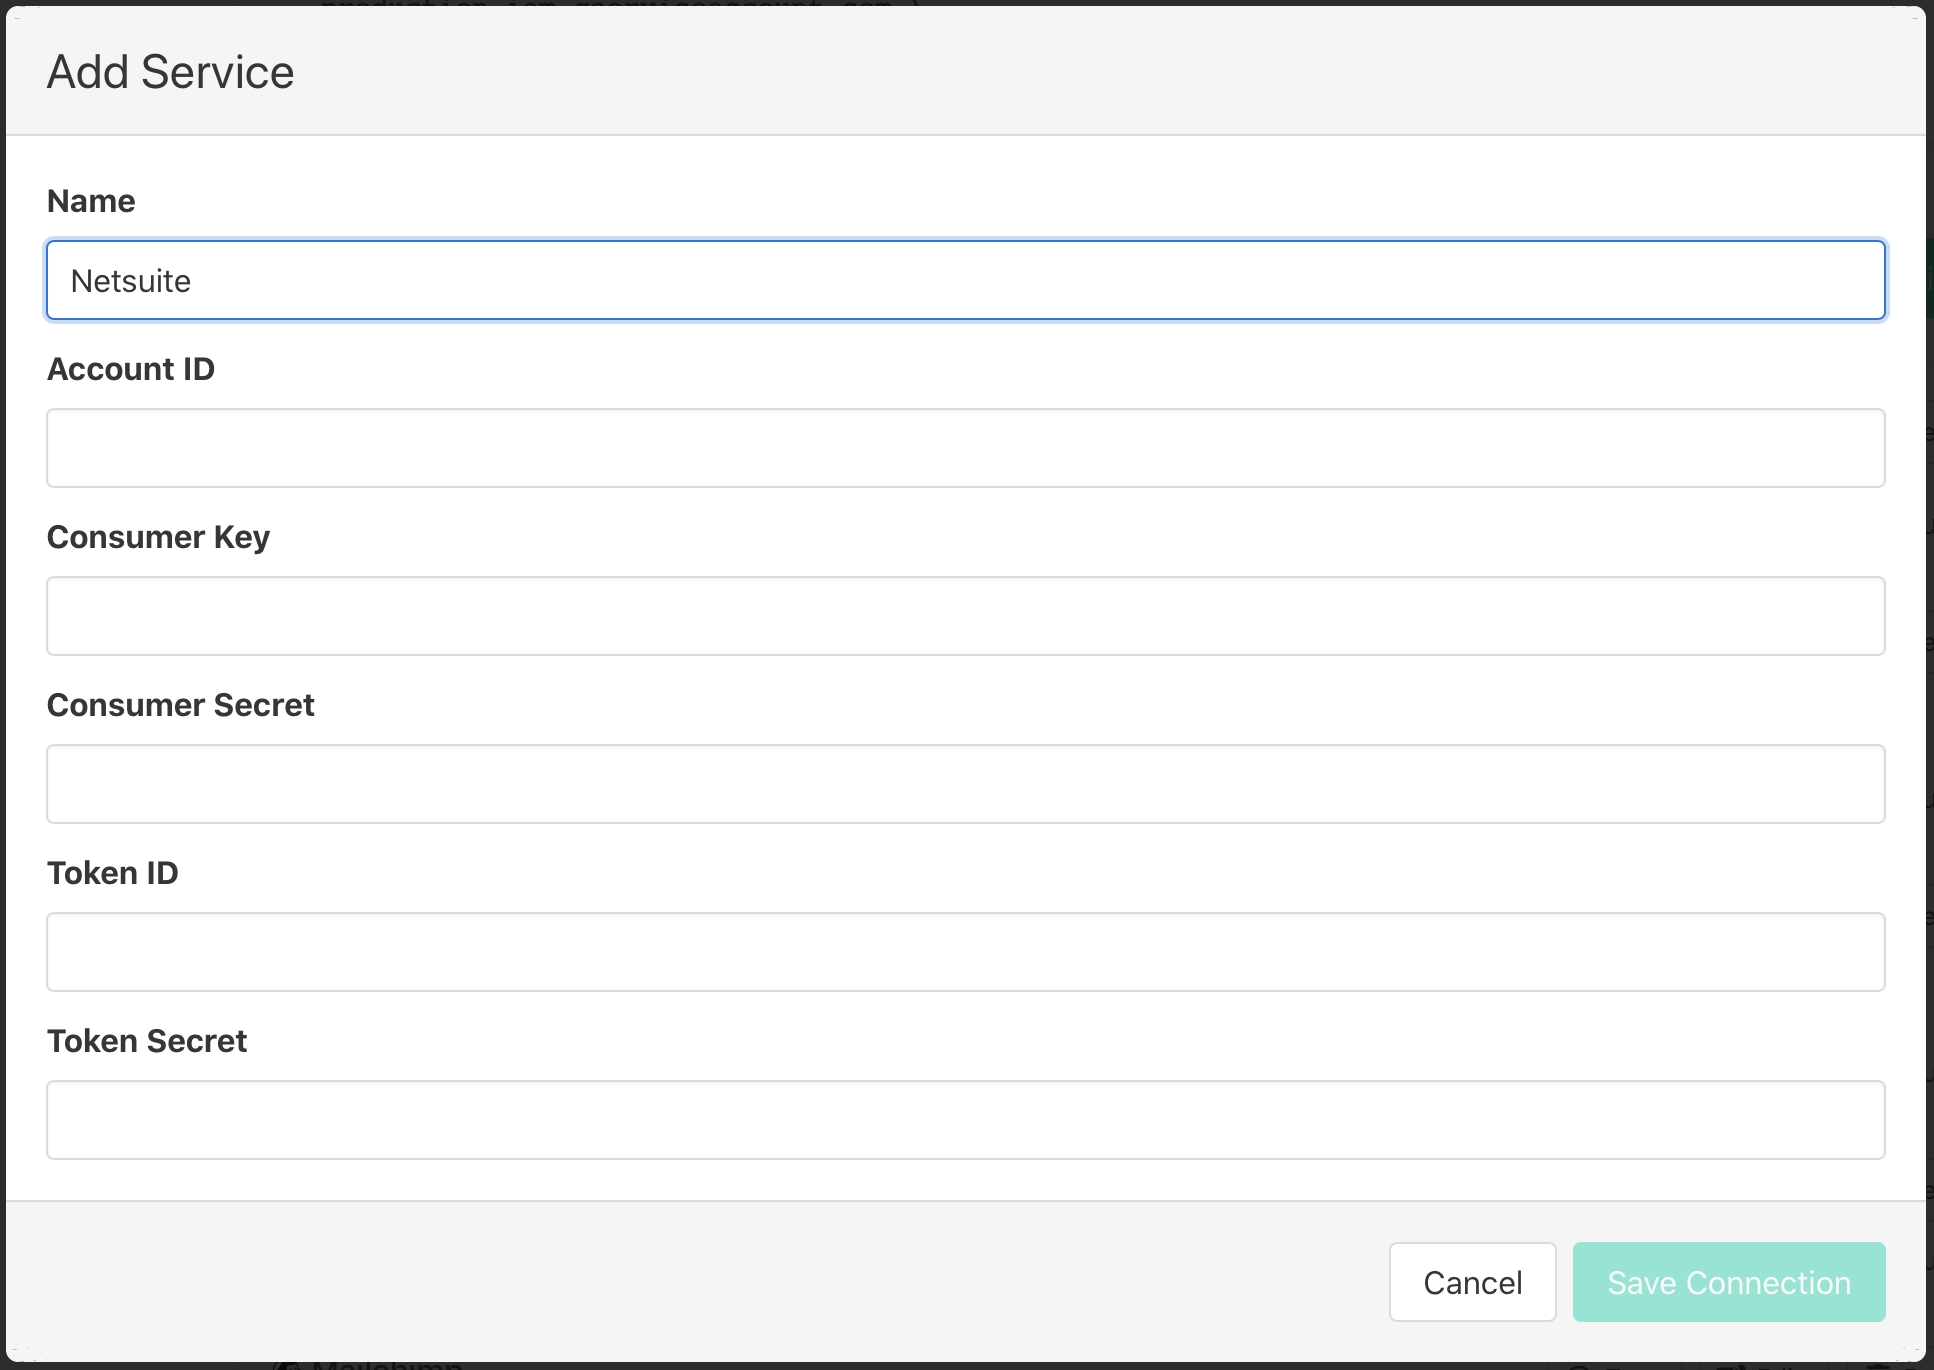
Click Save Connection, and click Test to double check your connection information.
You're ready to start using Census to load data from your warehouse to NetSuite! If you have any trouble with these steps, please don't hesitate to reach out to: [email protected] and we'll help get this setup.
Sync Speed
NetSuite's API speed and rate limitation are complex and are tied to the plan you are on but you can expect a speed of ~500 records sync / minute on their base plan,
Service
Records sync / Minute
NetSuite
500
️ Supported Objects
This is is the current list of NetSuite objects supported by our destination. There are many more and we add them on a case by case basis. If you need a different type of object, please contact us to let us know which object do you need, and we will be happy to support it.
Object Name
Supported?
Account
✅
Billing Account
✅
Cash Sale
✅
Class
✅
Contact
✅
Credit Memo
✅
Currency
✅
Customer
✅
Customer Deposit
✅
Customer Payment
✅
Customer Refund
✅
Customer Status
✅
Custom Record
✅
Department
✅
Employee
✅
Invoice
✅
Inventory Item
✅
Inventory Adjustment
✅
Item Fulfillment
✅
Item Receipt
✅
Journal Entry
✅
Location
✅
Other Charge Item
✅
Partner
✅
Purchase Order
✅
Sales Order
✅
Subscription
✅
Subscription Change Order
✅
Subsidiary
✅
Vendor
✅
Vendor Bill
✅
Generic HTTP Requests
If you wish to make a request to any NetSuite REST API endpoint that is currently not supported via one of our existing objects, you can manually configure a generic HTTP request of your choosing.
Select
HTTP Requestin the object selector

Put in your URL. Your endpoints must be part of
https://<account_id>.suitetalk.api.netsuite.com/services/rest/record/v1, if you wish to send data to a different endpoint, please reach out to [email protected].

Configure the rest of the sync as you would for a general HTTP Request destination, and we'll use your existing NetSuite credentials under the hood.
Supported Sync Behaviors
Behaviors
Supported?
Objects
Update or Create
✅
All
Update Only
✅
All
Create Only
✅
All
📫 Contact us if you want Census to support more Sync Behaviors for this destination
❓Netsuite Quirks
Netsuite is one of our most complex destinations, and some objects have behavior that is not explained in the Netsuite docs. Here are some known quirks to be aware of:
Customer Payment
The
Accountfield cannot be set on record creation; it can only be set on record updateIn order to change a Customer Payment status to "Deposited", you must send a record update that both sets the
Undep Funds(short for "undeposted funds") field tofalse, and sets theAccountfield to the bank account into which the funds were deposited.
Invoice
If you're syncing to the Item List on the Invoice object your Item List data will need to be formatted in a JSON array like the following example.
[{"amount": 2.5, "item": {"internalId": "13"}, "quantity": 1}].For more information on the Invoice schema please visit Netsuite's Schema Browser
Using TranId as a Sync Key
In order to sync to the
TranIdfield, Allowed Override will need to be checked for the Document Numbers of the object.Example: Setup > Company > Auto-Generated Numbers > Document Numbers > Journal
For more information on Auto Generated Numbers please visit the Netsuite Help Center
For more information on all Netsuite Objects and their fields please visit Netsuite's Schema Browser
Need help connecting to NetSuite?
Contact us via [email protected] or start a conversation with us via the in-app chat.
Last updated
Was this helpful?